Create a contract
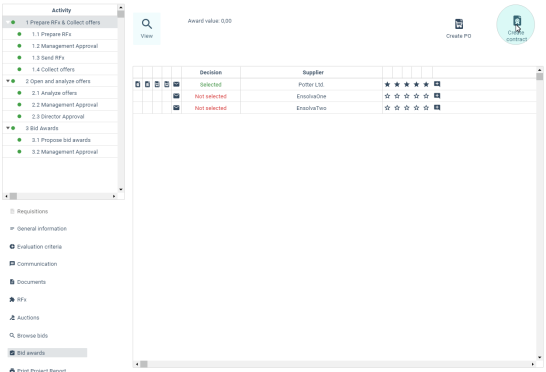
Contract are usually created after the RFx is awarded to the winning supplier (or suppliers).

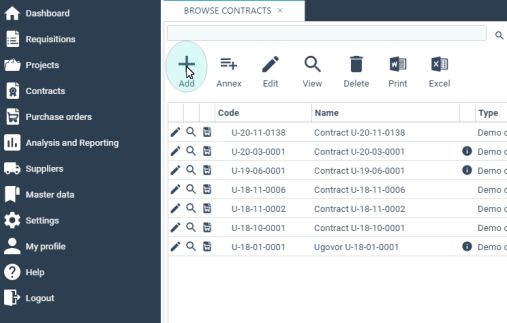
Another way to create a contract is by clicking on the Add button on the Contract Overview screen.

When you click on the Add button, the contact form opens. The form consists of 6 tabs: General, Materials, Contract Items, Documents, Contracting Parties, Status History.
On the General tab, you can add general information about a contract i.e.:
- Contract code: the system automatically defines a contract code (field cannot be changed),
-
Contract name,
- Contract description,
- Type contract,
- Responsible person,
- Contract status,
- Purchasing category,
- Contract value,
- Date of signature,
- Effective date,
- Contract expiration date,
- Organizational unit,
_973x547.png)
For each contract you can (optionally) turn on the "send automatic e-mail notification before contract expiration" feature and add users that will receive the notification.
_263x244.png)
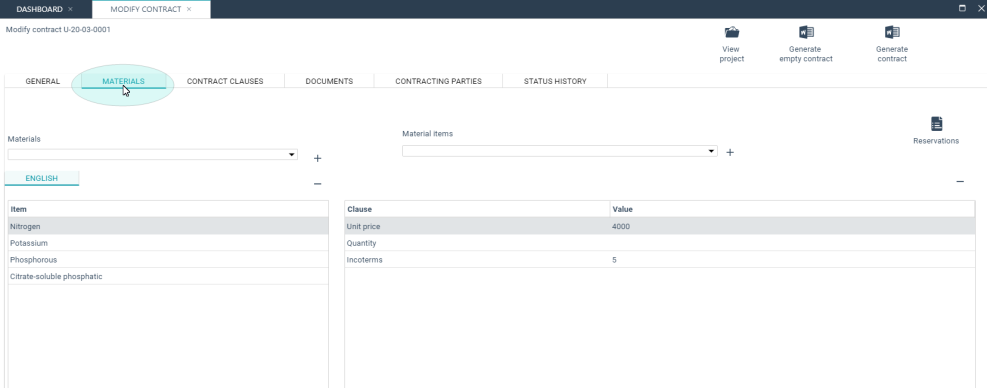
Materials are added to the contract on the Materials tab. For each materials you can define its attributes (also called Clause) and values, e.g. unit price, quantity etc.

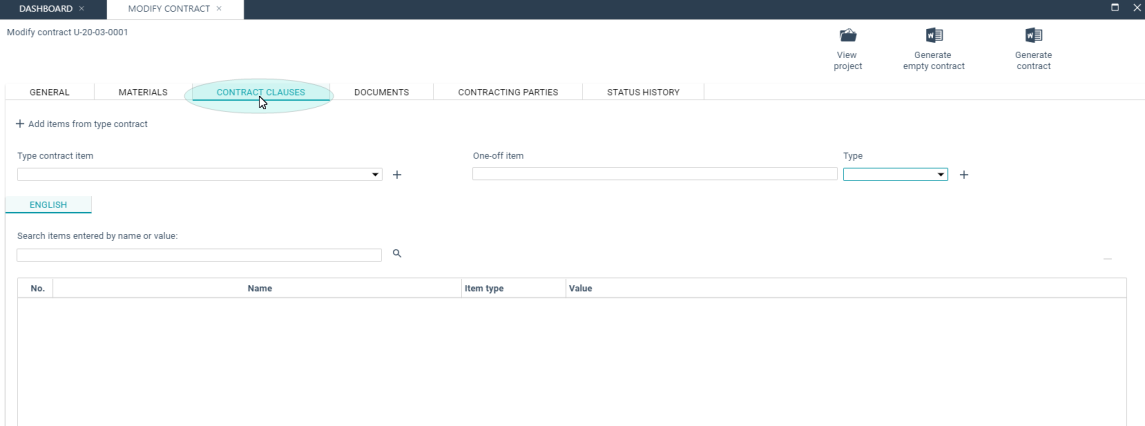
Contract clauses (also called contract items) are added on the next tab. You can select a predefined contract template and add items from that template, or add items manually. If using a contract template, you can generate the contract automatically from the template.

File attachments such as contract versions or other documents related to a contract are added on the Documents tab. After a document is loaded it is necessary to click on the button Mark as contract text.

On the Contracting Parties tab you can add multiple contracting parties. If a contract is created from a procurement project, the contracting parties are added automatically.

The Status History tab provides an overview of contract status changes.
